Showing posts with label crafts. Show all posts

4/16/12

new Bible cover

duct tape wins again. i have a 20+ year old Bible which was a gift from my daddy. it's a good quality Bible, but alas, the cover has begun to show some serious wear...so i went to wally world and got me some cheetah duct tape and repaired my Bible cover. thought you might like to see.


outside front cover


i put a few pieces of tape (3 layers thick) under the final cover to make a pattern.


you can see the tape wrapped around the inside edges.


i re-glued the inside cover pages over the tape edges.

1/10/12

crochet frenzy continued...

designed a new pattern. going crazy with it. my prototype (the pretty gray ones) were designed to be a birthday gift for someone very special. after that, they just started pouring out one pair after another. these are really fun and easy to make and it's very easy to make size adjustments on the fly.


this pair was made with a very soft yarn, i found at walmart. it's a bit pricier than regular red heart, but it only takes about 3 or 4 oz to make one pair. you could make hat to match. i actually made a mobius cowl/scarf to match this one and it took about 12 or 13 oz for the set.


this pair was another specialty yarn. also very soft but doesn't cling as well. still very warm and cozy.

the next two pair were a lot of fun and were made with plain ol' regular worsted weight red heart. easy but you have to guage the pattern down a bit for the thickness of the yarn.


the thumb hole is very flexible and you barely notice it's there. always a plus.


this pair, i got a bit carried away. i wanted them to be fun so they go clear up over the elbows. go greenbay?!?


i'm not very good at writing up patterns, but if there's any interest, i'll give it a shot.

it's a basic chain 34 for small yarn or 32 for thick yarn/or child's size.

then i did front/back post stitches around for 4 to 5 rows, joining and turning at the end of each row.

then i started doing regular double crochet around. the first row make no decreases. decrease one time each row for the next 10 rows (unless you want a shorter sleeve - adjust as needed). to keep the decreases even: glove(1), double crochet 10, decrease, double crochet around (this number will decrease one each row). glove(2) reverse this by subtracting one each time (the first will be either 20 or 22 depending on whether you started with 32 or 34), decrease, double crochet 10. join and turn. at this point, you should be at your smallest width (wrist size).

depending on the length and stripe patterns i added 1 to 3 more rows of regular double crochet. join and turn.

do one more row of double crochet but do not join. chain 3 and turn. double crochet front/back post stitches around 3 to 4 rows. do not join any of these rows. always chain 3 and turn.

on the last row, chain one and single crochet around the thumb hole (these are the 4 to 5 rows you didn't join.)

once at the top, join and chain 1.

single crochet around the top. slip stitch in the next 2 stitches and tie off.

done. :D

12/26/11

crochet frenzy

this winter season, i went nutz with the crochet. just thought i'd share.

all of these projects were done with Red Heart worsted weight - the cheap stuff from wal-mart.

this first two are a simple double crochet. i started with a width of about 165 stitches and i used a P hook to get big loopy stitches to give the blanket a lighter, cozier feel. remember the shaker knit sweaters from the 80's? it reminded me of those as far as how well it laid on the bod. to finish up, i used an I hook and 3 or 4 rows of single crochet around. pretty simple stuff for you crochet nutz.


(for my 7yo son)


(for my 10yo daughter)


this one is a bit different. i started learning granny squares about 15 years ago. i made the squares, with the intentions of making a rather large afghan. i had green in there too. i got distracted and through the stuff in the closet for the last 15 years. the sqares actually made it through both moves. then i found out the church wanted to make lap blankets for the local nursing home residents and i pulled these out to see if we could do something with them. because of my inexperience, not all of my squares were the same size. i had to throw out the green squares because the stitches were too tight. then i was a couple squares short and i couldn't get the squares right, so i made a couple of make shift, single crochet triangles to throw on the corners. since this blanket is being made for the purpose of laying on a person in a wheelchair, i thought the flat corners might be nice. then i learned how to join with this strange modified granny square type pattern. what i've learned is that i'm not too big on granny squares - not 15 years ago and not now. i hope someone enjoys this blanket because it will probably be the only one of it's kind that i ever make.

this one, i really enjoyed. i designed this pattern before i made the one above. i was thinking that i could save yarn and keep the corners from getting rolled under wheel chairs. it would be like wearing a half skirt. anyway, i started with a simple half circle and it was too short. hub's suggested i add rows at the top and this is how it turned out. i was really pleased with this one. it's a simple double crochet. started with 6 around a 3 stitch loop and kept increasing as needed to keep the shape. this was done with leftovers from the girls afghan at the top so the rows are really not designed ahead, just random-as-i-go-with-what-i-have-left. i have since, designed a horshoe pattern based on this design to make the crocheting faster and easier, but this is by far, my favorite. i hope someone enjoys looking at it as much as i enjoyed making it.


i will post a picture of the horseshoe blanket when it's finished. i also made an afghan that looks like a chocolate bar for my dad for christmas but i forgot to take a pic. if he's able to send me a pic, i'll post that one as well.

hope everyone had a MERRY CHRISTMAS and enjoys their new year.

10/25/11

cloche - crochet pattern (free)


here's a cute little hat i designed in my spare time. it's light weight but adds a bit of flare and warmth to any outfit. there is a flower attached to the front which is difficult to see in the pic, but hubs said the flower made it look like a flapper hat.

i design patterns better than i can write them down. i apologize if my crochet-eze isn't quite right, but hopefully you can make heads and tails of this.


Hook = I
Gage: 5 sc = 1 inch
Yarn: Bernat Soft Bouclé

ch = chain
sc = single crochet
dc = double crochet
tc = treble (or triple) crochet
hdc = half double crochet
ss = slip stitch
yo = yarn over


Petal 1 (P1): ch 5; [yo 3 times; put hook into (or around) indicated stitch, yo and pull through; yo and pull through 2 loops (3 times), each time adding another loop on the hook] 2 times leaving a total of 3 loops on hook; yo and pull through all 3 loops.

Petal 2 (P2): [yo 3 times; put hook into (or around) indicated stitch, yo and pull through; yo and pull through 2 loops (3 times), each time adding another loop on the hook] 3 times leaving a total of 4 loops on hook; yo and pull through all 4 loops.

Petal Double (PD1): ch 5; [yo 3 times; put hook into stitch where ch5 originated (should be petal tip), yo and pull through; yo and pull through 2 loops (3 times), each time adding another loop on the hook] 2 times leaving a total of 3 loops on hook; ; [yo 3 times; put hook into next indicated stitch, yo and pull through; yo and pull through 2 loops (3 times), each time adding another loop on the hook] 3 times leaving a total of 6 loops on hook;

Petal Double 2 (PD2): [yo 3 times; put hook into indicated stitch, yo and pull through; yo and pull through 2 loops (3 times), each time adding another loop on the hook] 3 times leaving a total of 4 loops on hook; ; [yo 3 times; put hook into next indicated stitch, yo and pull through; yo and pull through 2 loops (3 times), each time adding another loop on the hook] 3 times leaving a total of 7 loops on hook;

__________________________________
__________________________________

Row 1: Ch10; join with ss to form loop;

Row 2: P1 around loop; [ch5; P2 around loop] 4 times; ch5; join with ss at tip of first petal;

Row 3: PD1 (in ch5 stitch and around chain from Row 2); ch5; [PD2 (around chain from row 2 and in top stitch of next petal from Row 2)] 9 times (alternating row2 ch and row2 petal tip); ch5; join to top of first petal with ss;

Rows 4 thru 6: PD1 in same stitch and top of next petal from row3; [ch5; PD2 in same stitch and top of next petal from row3] 9 times; ch5; join to top of first petal with ss;

Row 7: Ch 1; [sc; dc; tc; dc; sc;] 2 times around chain from row 6; [sc in top of petal; [sc; dc; tc; dc; sc;] 2 times around chain from row 6;] times; join with ss; tie off;

__________________________________
__________________________________

flower: Ch 6; join with ss to form a ring; ch2; [dc; tc; tc; dc; hdc; ] in loop; [hdc; dc; tc; tc; dc; hdc;] in loop 4 times; join with ss to top of ch2; tie off; attach to hat in desired location.

10/15/11

renovations


hubs built a table for the guinea pig cage to help increase storage space.

i had to show you all how classy it looks.

1/6/10

pop tab purse


my newest endeavor into the crafty... i made this yesterday. pretty stylish and green (recycled pop tabs!)


here's where i got the 'how to': http://poptabpurse.blogspot.com/2009/01/about-year-ago-i-made-blog-page-to-make.html

11/1/07

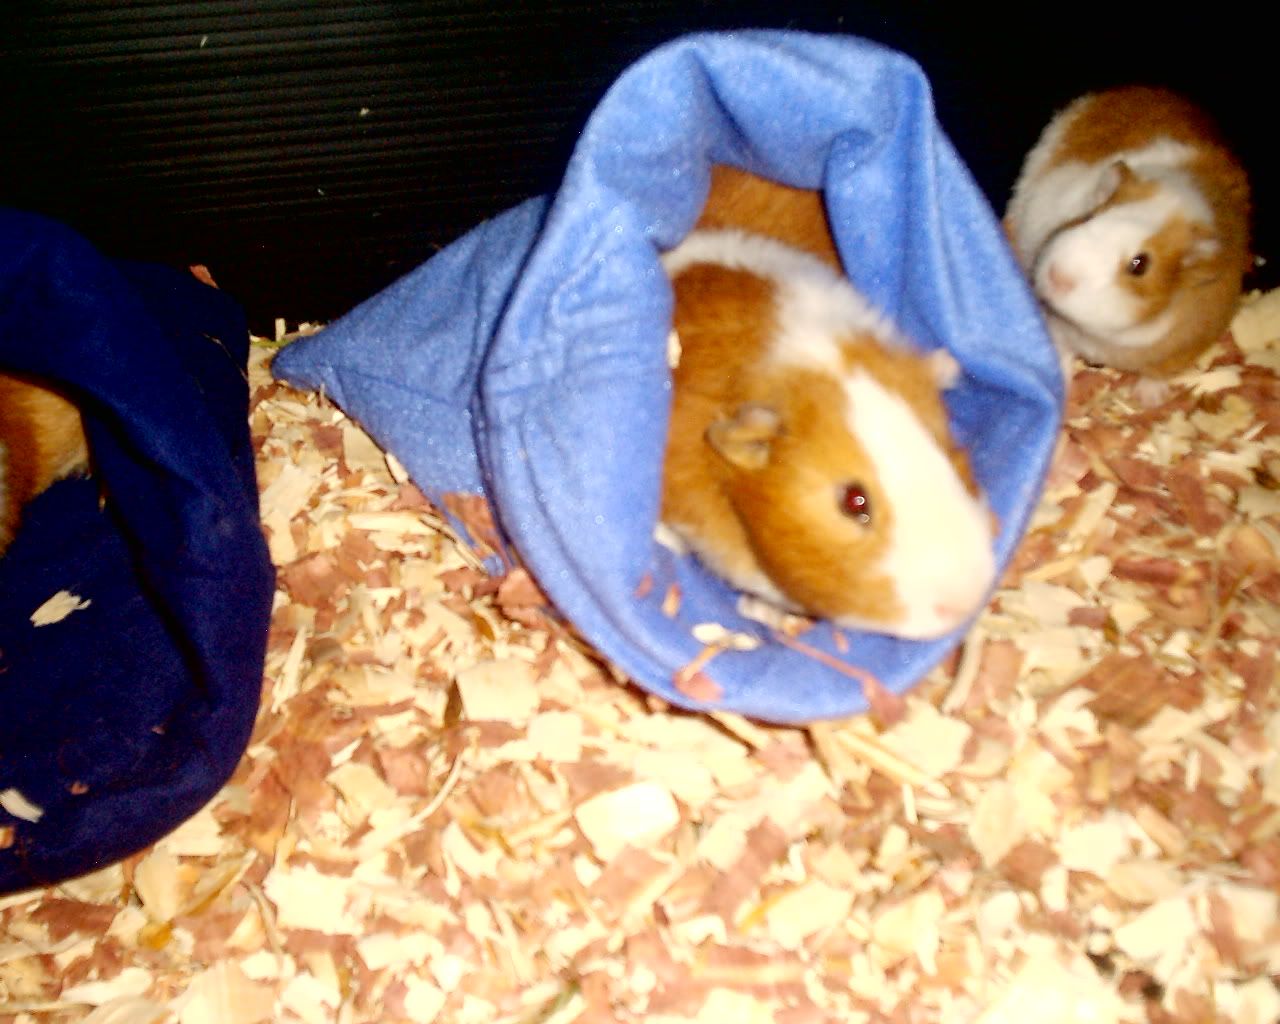
homemade cavy cozies


3/30/07

homemade rattle for baby birthday

I made a homemade rattle for my daughter years ago but had forgotten about it. I was recently invited to a birthday party for a one-year old and am a little strapped for cash. Hubby finally suggested that I make another rattle like I had made for our kids. I thought it was a great idea and then decided to share.


First thing to do is find a clear jar that is not too flimsy. The very first one I made, I used a personal sized Minute Maid jar from a convenience store. This time it was a parsley jar from Walmart.


Photo Sharing and Video Hosting at Photobucket

To remove the label, soak in hot water and peel. If you have a stubborn piece that won't come off, I recommend Skin-so-Soft by Avon or another thin oil and a paper towel. You may have to wash the oil off once you are finished.

Then you take some ordinary rice and some food coloring. Put a couple of spoonfuls in a small bowl and a few drops of food coloring (about 6-10 drops). Stir until all rice is coated and then lay out on a papertowel or paper plate until the color is all dry.


Photo Sharing and Video Hosting at Photobucket

Once the rice and the jar are clean. Put the rice in the jar and glue the lid on. Use something like epoxy or JB Weld or Monkey Glue. Super Glue most likely won't hold. Elmer's Glue All might work, but will most likely eventually break under the forceful hands of a determined toddler.

Your finished product will look something like this.


Enjoy!

Blessings

2/1/06

elf hat crochet pattern

I finished one of my daughter's birthday presents. I thought I'd share it with you. I borrowed the basics from another pattern, but I modified it quite a bit. I love it when my projects work out. If you crochet, or want the pattern for someone else, I've got it on PDF for download.


1/26/06

Xanga Archives 01/26/2006

Project fun with my kids tonight. Here's what we did.


  • Fill cake or other flat pan with plain white non-scented shaving cream.
  • Dot with food coloring of choice.
  • Use a fork to pull colors through as if marbling a cake.
  • Gently lay paper on shaving cream and color and press until color begins to show through paper
(I used 20 lb printer paper).
  • Pull paper off and lay flat on table.
  • Scrape excess shaving cream from paper and/or wipe clean with a dry rag.
  • Allow paper to dry and press if desired.

Caution: avoid excess moisture in your shaving cream, color, paper or on your
hands, or your marbling will tend to smudge and/or smear.


I am not recommending this, as it may damage your printer heads, but
I used our printer to create the picture below to hang on the wall using
the paper the kids made.


You now have marbled stationary for letters or greeting cards. Enjoy.

God Bless
disclaimer:  caution must be taken when reading my blog.  i'm a new creature and the Lord continues to mold and shape me through his will.  older entries may seem to contradict the newer ones.  there's a pretty good chance that they do for two reasons.  first, because of my nature, as i strive for perfection, i will continue to fall short of the mark and should therefore be thankful for his grace and should seek his (and your) forgiveness for having been so foolish in the past.   second, i continue to grow in him; and as changes are made, i have made attempts to change my blog to reflect those changes. in this event, please refer to #1.   if you're interested in perfection, my blog isn't the place to be.  pick up a king james bible (yup, i'm one of THOSE people) and read his PERFECT word.